Framing a print in 3 easy steps
Buying a print is a great way to get the art you love in the exact size you need and framing a print couldn’t be easier! All of my prints are made in sizes that fit into standard frame sizes. I buy my frames at IKEA, their “Hovsta” and “Ribba” matted frames comes in the following sizes: (Shown below is a Ribba 50x70 cm frame with a 40x50 cm opening)
Print size: Frame size:
5x7” / 13x18 cm 8x10” / 21x30 cm
8x10” / 21x30 cm 12x16” / 30x40 cm
12x16” / 30x40 cm 16x20” / 40x50 cm
16x20” / 40x50 cm 19 3/4x27,52 / 50x70 cm
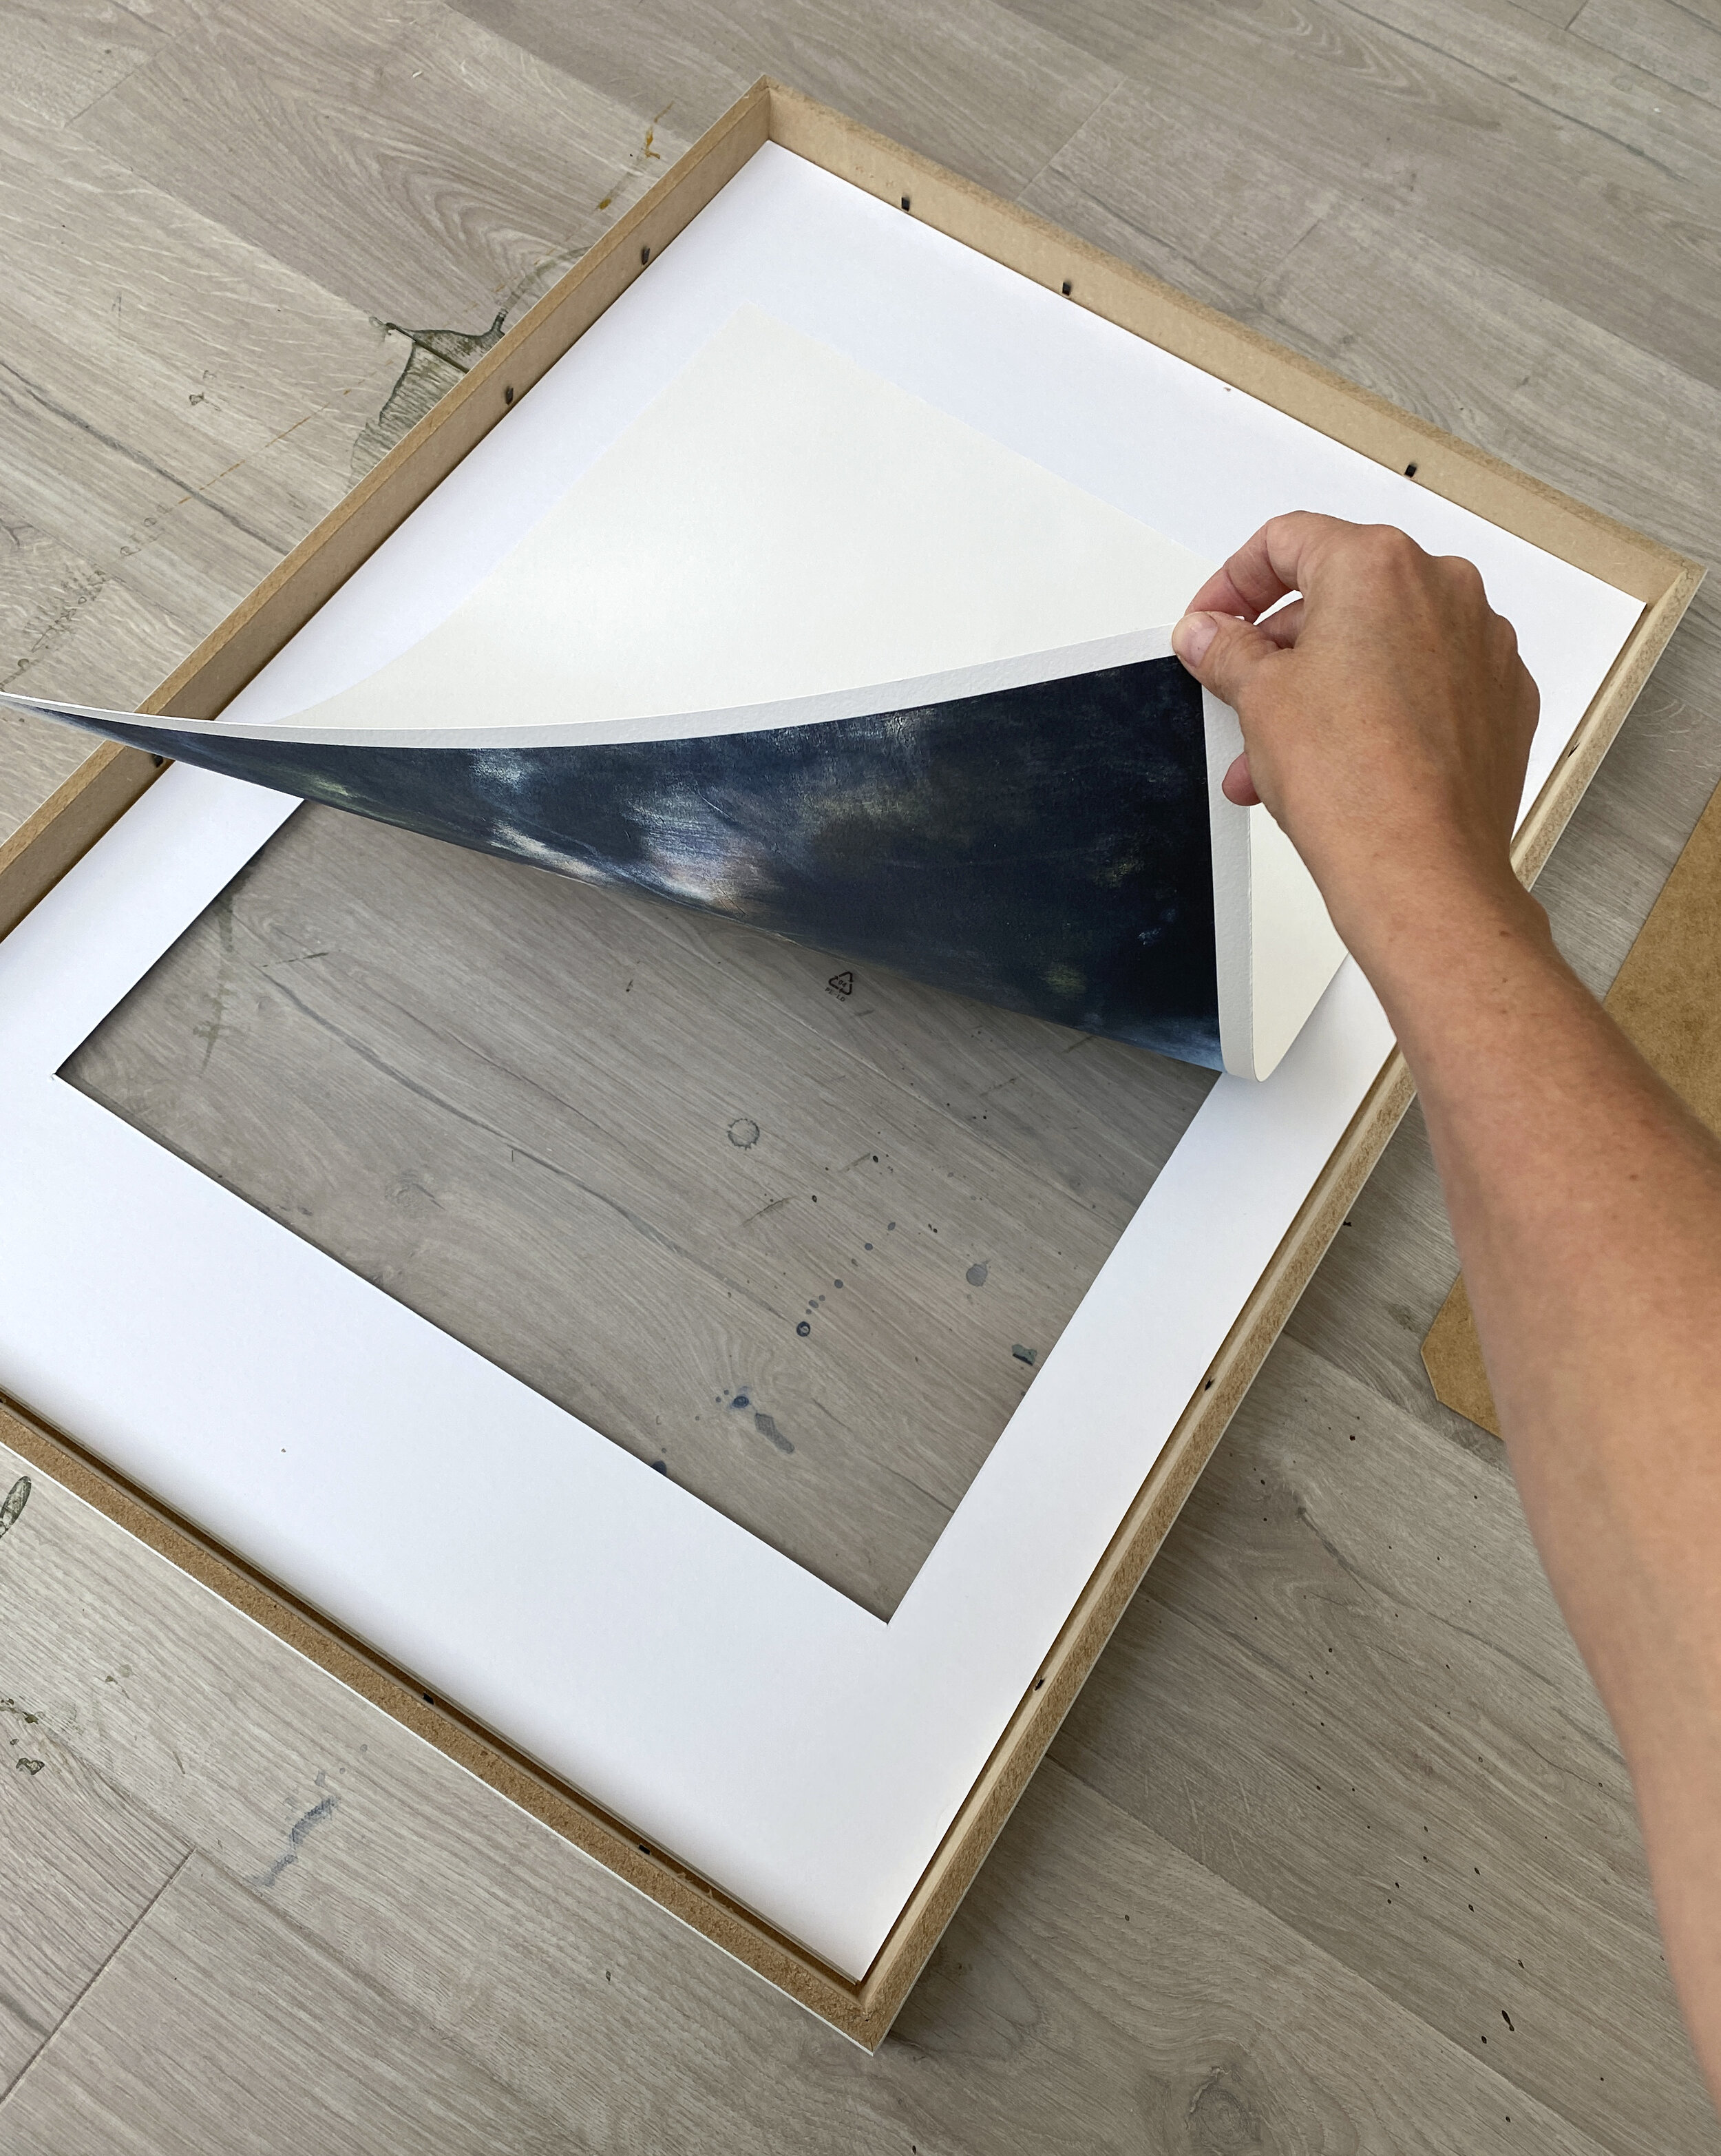
Once you have your frame, take off the plastic, open the tabs and lift off the backing board. Some frames use plastic instead of glass with a protective film to cover the plastic, this should also be removed.
Line up the print on the back of the mat and check your placement in the mat opening. Tape your print to the mat using acid free tape.
Place the backing board on top of the print and push the flaps back down. Done!